Thank you for installing VideoPoint
Important information: Bookmark this page!
Your First Steps
2
3
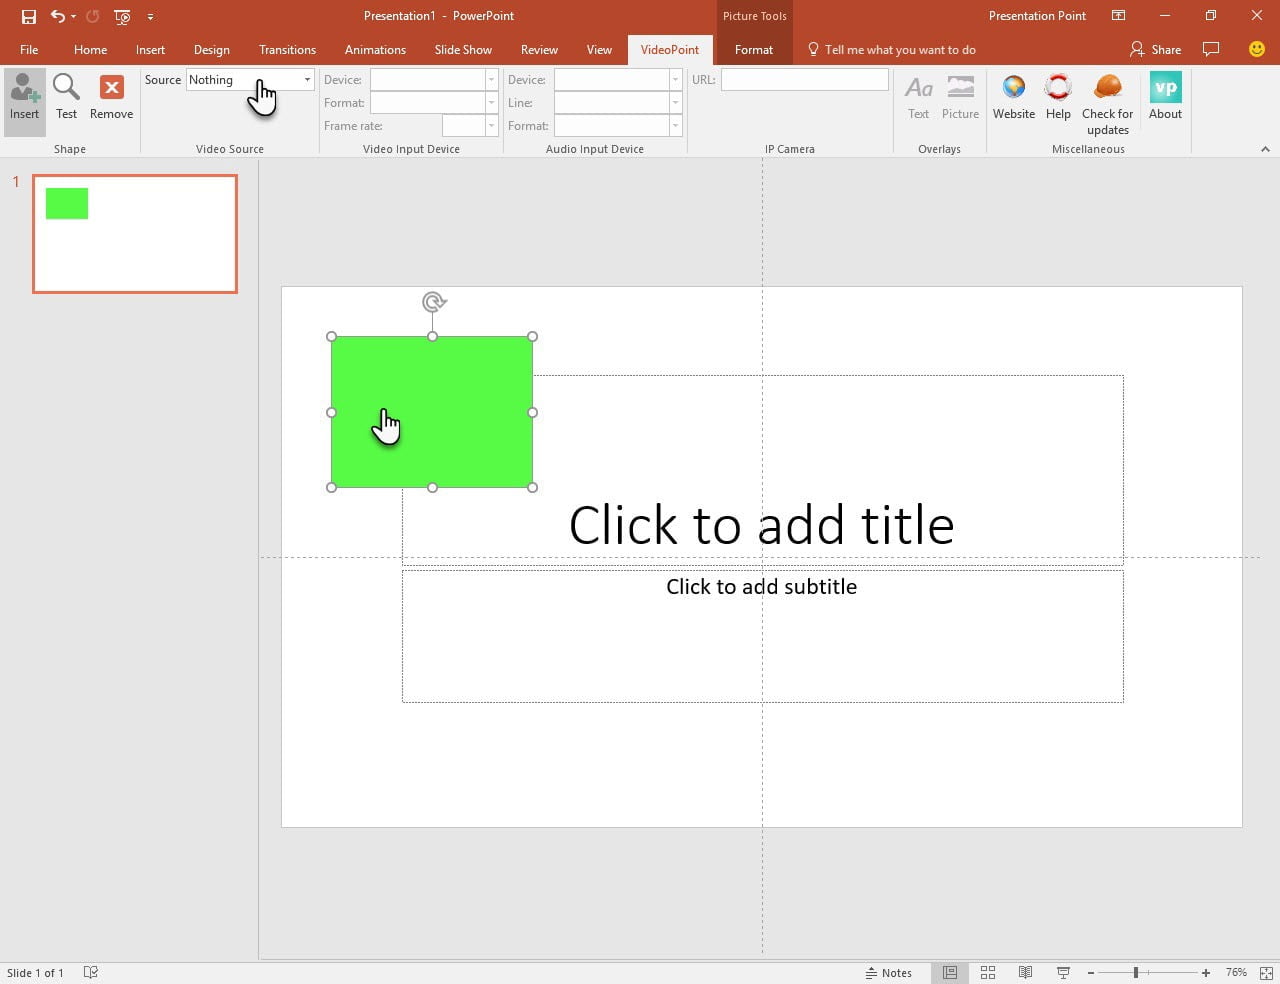
A new VideoPoint shape is inserted on your slide. Select the shape and set the Source option. Choose between Video Input Device or IP Camera.
A Video Input Device is a component that is directly connected to your computer. Mostly this is a local webcam, but it can also be for example a digital video camera.
An IP Camera is typically a camera with an IP address. A good example is a security camera.
4
Set the Source to Video Input Device.
In the Video Input Device group, get 3 options to choose from. Device, format and frame rate. These are to control the video format specifications of your video device.
In the Audio Input Device group, you can control how the audio is captured. Set the corresponding device, line input and format.
Check out the video device hardware documentation for more information on all the specific settings. Each different model and brand, have different settings.
5
6
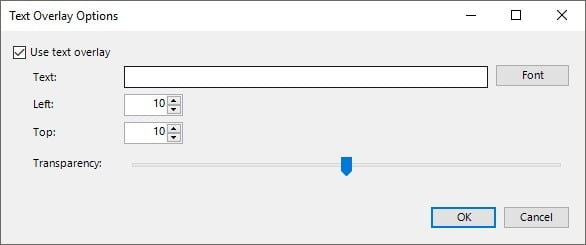
You can place a text on top of the video output. For security cameras, you can often see the physical location on top of the camera output, like ‘backdoor’.
Check the Use text overlay option. Enter the fixed text that you want to display and its font and font size.
With the left and top controls, you can position the text on your video output.
Use the transparency slider to make the text transparent.
7
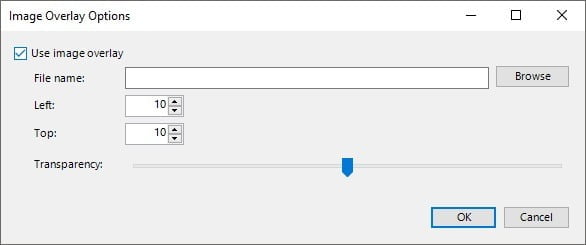
Optionally again, you can place a picture on top of your video output. On a television, you can often see a logo of the channel that you are watching. This feature could be used for that.
Check the Use image overlay option and set the image that you want to use.
With the left and top controls, you can position the image on your video output.
Use the transparency slider to make the image transparent.
8
Start the slide show and see how your video output is displayed on your slides.


