What is PlanPoint?
This is a tool to schedule slides of a Microsoft PowerPoint presentation. Advantage is that you can leave your slideshow running without stopping the PowerPoint kiosk presentation.
This is a free PowerPoint add-on that allows the user to set timings on a slide. With PlanPoint installed, the user can set the visibility of the slides.
The user can set a period, time frame, days of the weeks etc. All within one presentation. The user can call it slide scheduling.
Example
The user can have a presentation with multiple slides; one with name and logo, one with opening hours, one with lunch promotion, and another one for with dinner menu. And the final one with announcement of closing due to holiday.
So on slide 1 and 2 the user can set nothing, by default visible. On slide 3 (lunch) the user can set the visibility between 0800 and 1500 and for slide 4 (dinner) the user can set it to show between 1500 and 0800 (this for multiple years, if not, ending till 9999 or 2199 or something.
For slide 5 (closing) we will close it.
Another example is between Christmas and New Year. The user will set starting December 15 until January 2, the system will set to show this slide.
PlanPoint Installation
To install Planpoint, go to https://presentationpoint.com/downloads/request-to-download-planpoint/. Fill in the form and send in your registration.

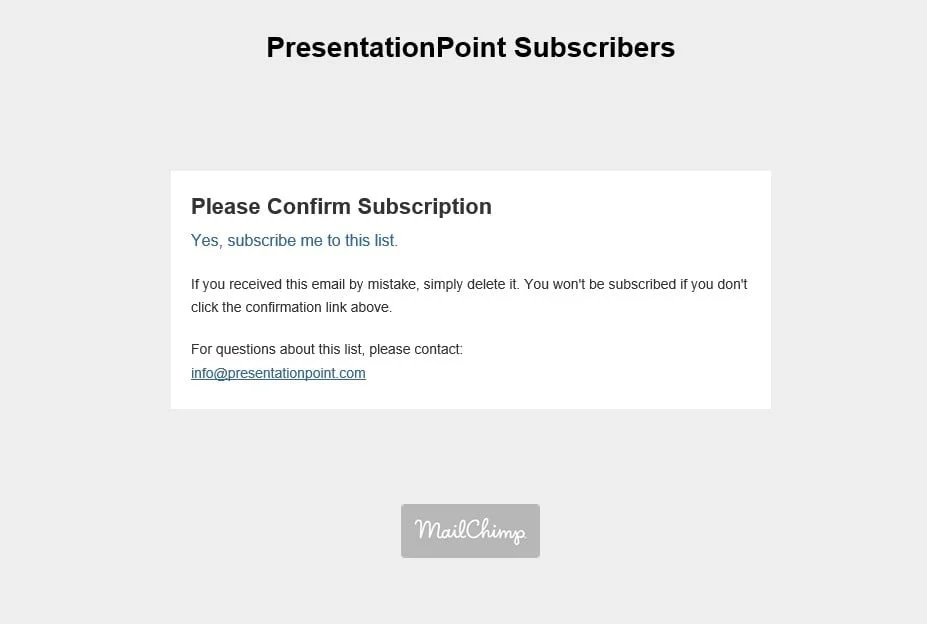
After the registration, you will receive a mail message from us to confirm your subscription. Confirm this message.
In case you did not receive this message within one minute, then check your spam folder and settings.

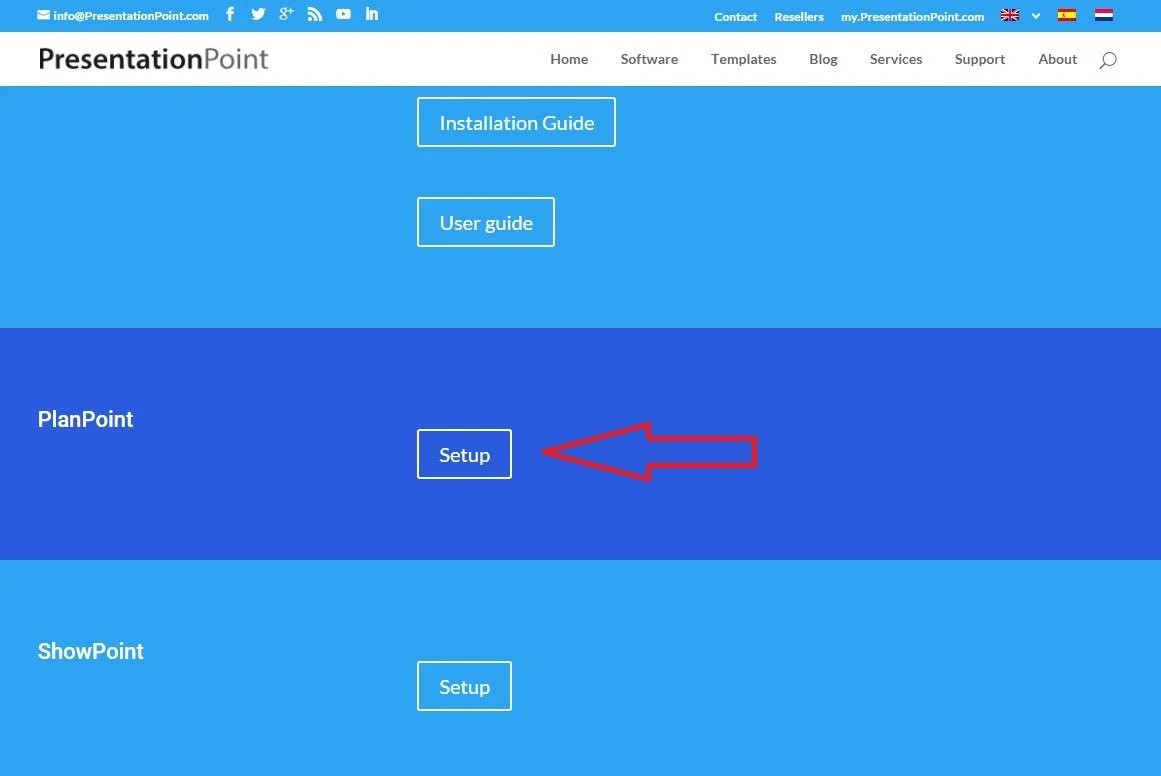
Right after that confirmation, you will get a second mail message with the secret download url. Click that and scroll down to the PlanPoint section on that page.

Click to run the PlanPoint setup.
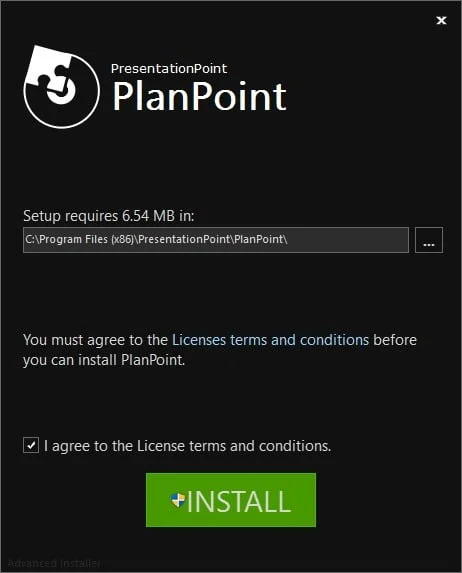
The PlanPoint setup welcome screen will be shown. Click to accept the license terms and conditions.

The PlanPoint add-on will now be installed on your computer.

When the setup is completed, you can start Microsoft PowerPoint and you will see a PlanPoint item that was added to the normal PowerPoint ribbon.

To Start Using PlanPoint
- To start using Planpoint, open Powerpoint.
- Click PlanPoint tab. This is allow the system to open PlanPoint menus.

To Set Up PlanPoint Timing
In the PlanPoint menu, click Timing to set the PlanPoint.

After clicking Timing menu, the system displays Settings.
- Click the PlanPoint checkbox to enable the PlanPoint Settings.
- Set the Date, Time Constraint, Day Constraint and click OK. This will set the customized time settings for PlanPoint.

Run the Slideshow
Start the PowerPoint slideshow and PlanPoint will show or hide the slides based on your timing settings.


Hello
Is it possible to schedule not by weekdays, but by recurring number of days?
Hello back, no that is not (yet) implemented. Our (paid) iPoint has more options for scheduling… Have a look at this article: https://presentationpoint.com/blog/create-digital-signage-playlists-powerpoint/
hi, when i wanted to run the slide show after setting the timing, the message pops out and read “slideshow is ended because there is no slides visible” could you advise?
Hi Woo,
It looks like all slides set to hide. You know where to control that?