Text and CSV files are databases in the most simplest form. You don’t need a specific database server software. You just store the data in a text file. Unencrypted, unprotected, no compression and no intelligent indexing system on it. In most cases, a text file is separated by TAB. CSV files are frequently seen too. CSV stands for Comma Separated Value and is basically a normal text file where the different fields are separated by commas. You will often see text or CSV files as exports of data of legacy systems.
A text file has an optional first line to store the names of the column like first and last name, address etc. Then, each row represents one occurrence of your data. When you have a text file with all your products, each line of the text file is representing a product.
The advantage of using text and CSV files is that you don’t need a complex database system and is ideal of non-confidential and mostly small data files. Here below you see a typical CSV file.

Our DataPoint is a PowerPoint add-on that allows you to link text and CSV files to your slides for dynamic content. After installation, a DataPoint entry is visible in your PowerPoint ribbon. Click to open the DataPoint menu options and click the List button of the connections group.

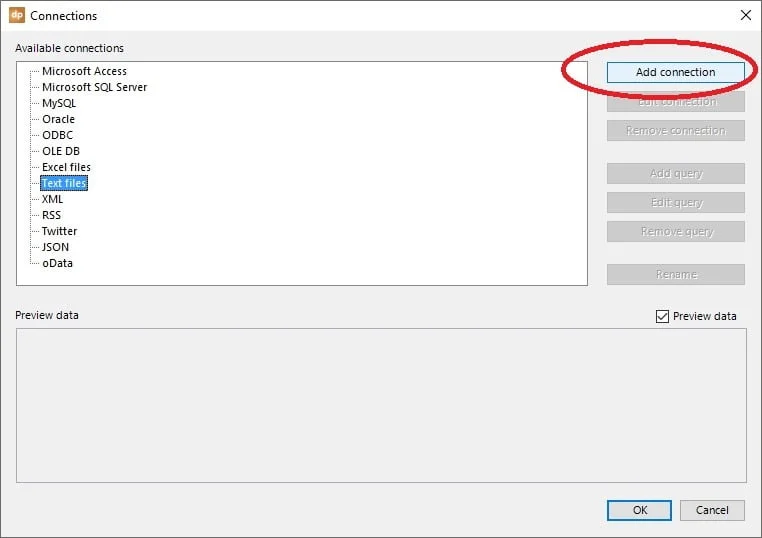
Select the Text files node and click the Add connection button.
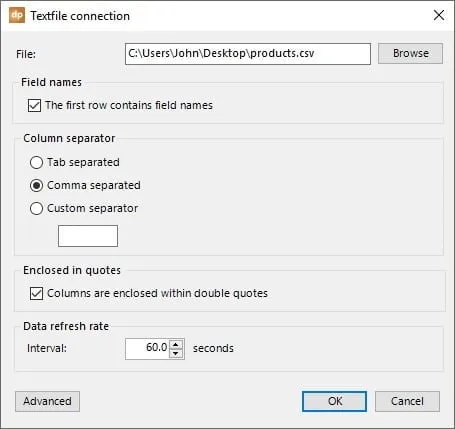
On this form all the magic happens. Click the Browse button and select the text or CSV file that we are going to use on your slides.
Check the option The first row contains field names and choose the column separator character. Most common separators are tab and comma. In case of a different separator, just select the option Custom separator and type in the separator value at the text box.
Optionally set that the columns are enclosed with double quotes or not.
And finally select a preferable refresh rate for data updating on the file.
Click OK to confirm.
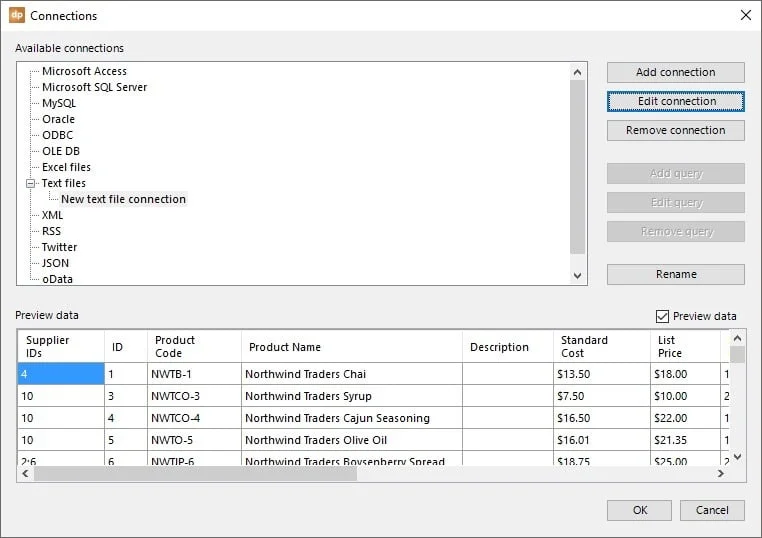
The text file connection is added to your connections list. You will see a preview of the data in order to confirm all settings that correctly chosen. Click OK to confirm the changes.
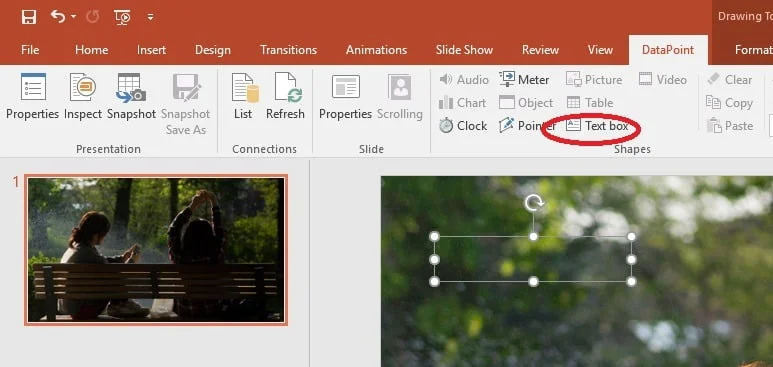
Add a new normal text box to your slide and while it is selected, click DataPoint, then Text box.
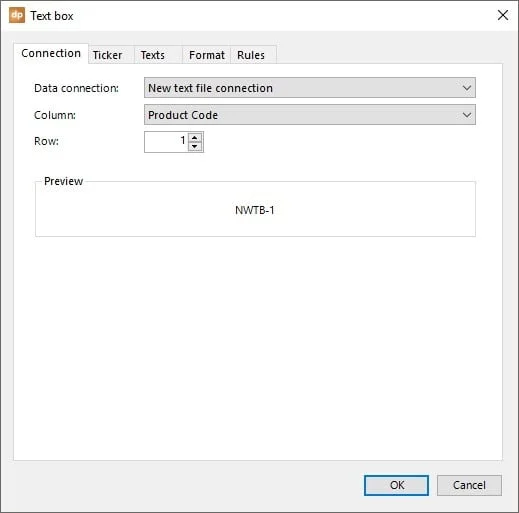
We can here bind a row and column of a given data connection, dynamically to this text box. The default data connection here is fine, since we only have set up one data connection. Select a column from the column list and set the row number to 1.
You will see a preview of the value. When everything is fine, click OK to close.
The physical content of the row-column combination is now copied into the text box.
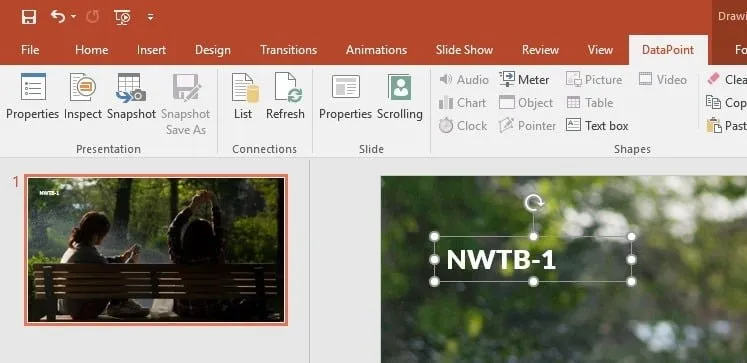
Duplicate this column a few times and link it to some other columns of the same first row of the text file.
You can use a quick shortcut to increment the column by clicking on the +C button. Alternatively you click the Text box button of the DataPoint menu to see more options.

Now that the binding of the first row is ready, select all text boxes together and duplicate it a few times to fill the screen.
After each duplication, click the +1 button to increment the row number to the desired number. More DataPoint shortcuts can be found in this recent article.
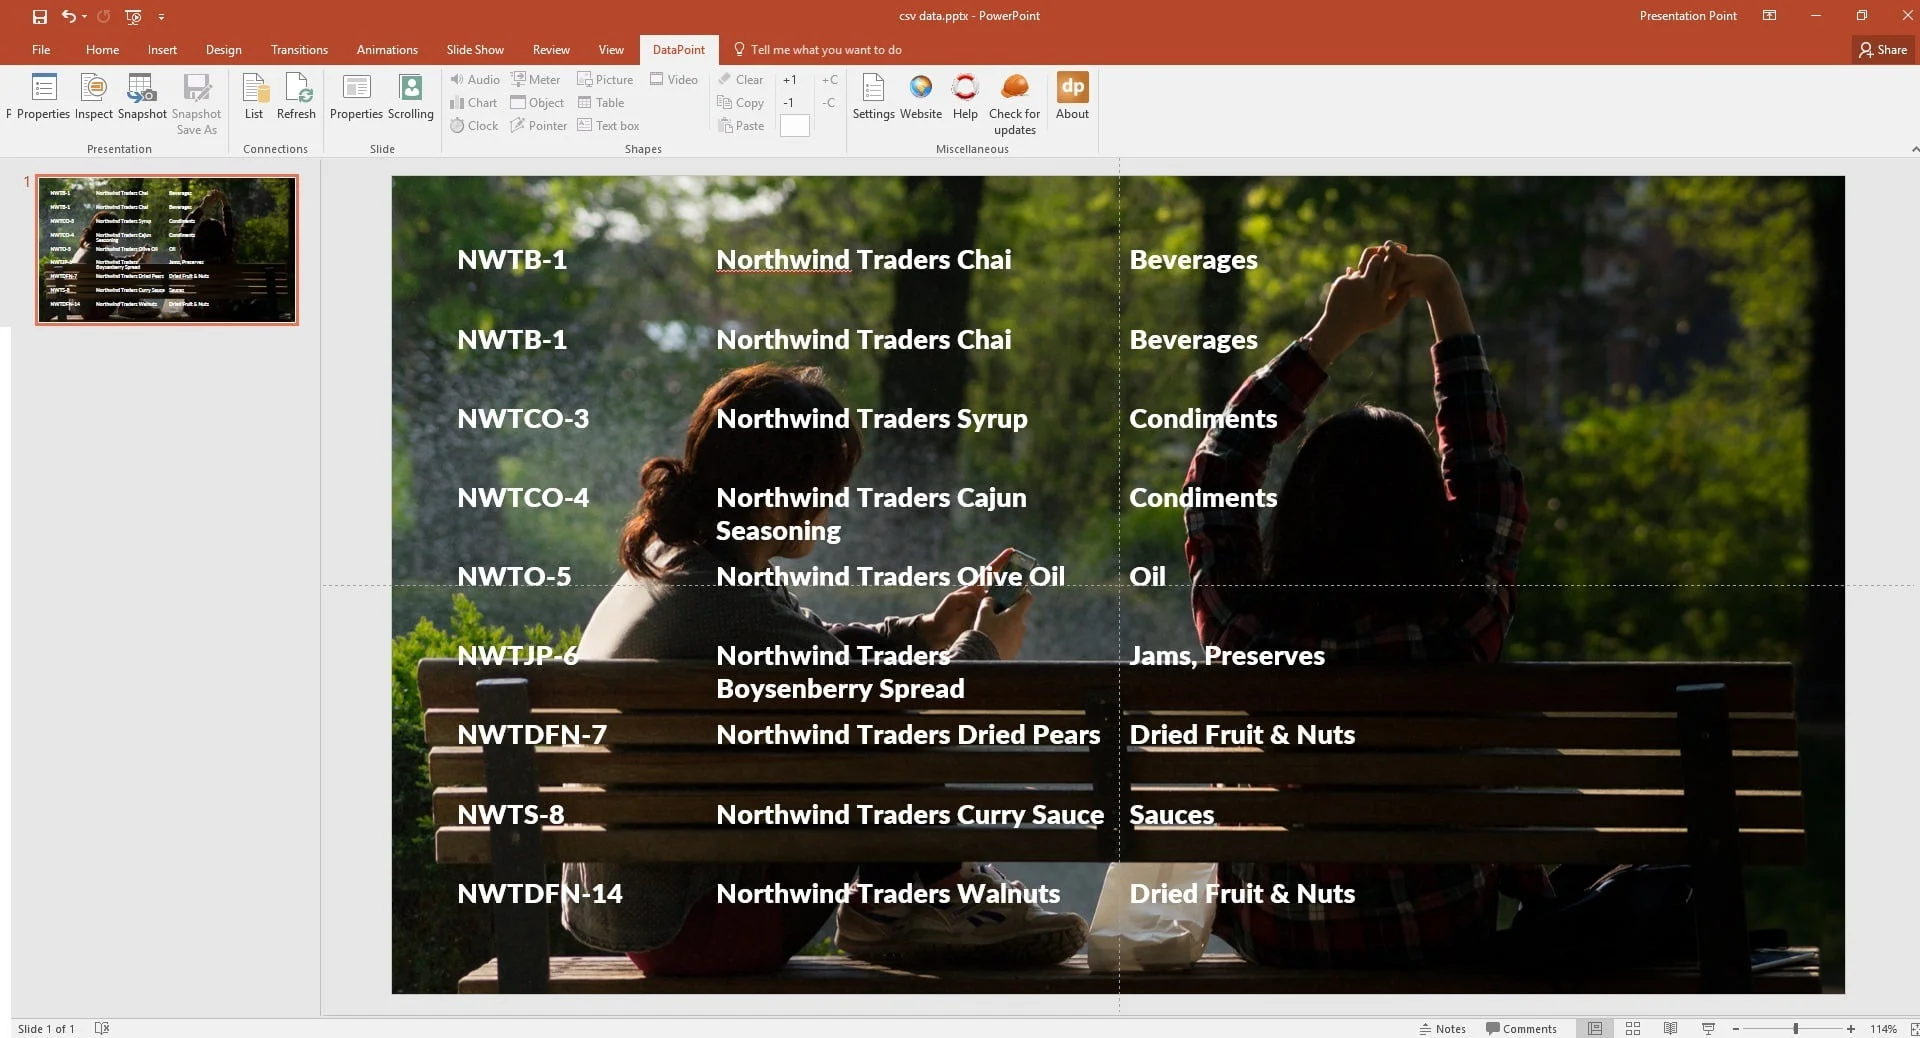
Our slide is now completely linked to information of our text or CSV file. Each time we open the presentation, the linked text boxes are updated automatically. We can start the slide show now and DataPoint will continuously update the content while running. This presentation can be used as an information screen on the work floor to inform people with this information. Put the text files in a network share and you can use any other computer to update its content.
PowerPoint is made for presenting. Use DataPoint and PowerPoint for your information screen software!



Is this available to mac operating system that has powerpoint?
Unfortunately not Kelsey. Only on Windows for the moment.