In this article we will show you how you can create a playlist with images and schedule the playlist for playback on remote computers.
Why would you use images for digital signage?
As explained in our article about the digital signage components of iPoint, we use the iPoint Scheduler application to create and schedule playlists. Using images in the playlist is great to replace paper based advertising or announcements. And it has the advantage that images are light-weight files compared to video and other animated file types. As you know, paper based advertising with no animations but only graphics and texts, were extremely powerful in the past when there was no digital advertising. So why wouldn’t it be possible to use images nowadays in your advertising. You can still use digital paper ads, but they will be more powerful, because the use of a digital screen or monitor, is much brighter than a paper ad. Thus, attract more viewers, and that is what you need with your advertising playlist or announcements slide show.
Set up a playlist with images
Like a music playlist for the iPod, the can create a playlist, not with music or mp3 files, but with images like .jpg or .png files. After the creation of the playlist, you send out that playlist for playback, to a digital signage player. Start the iPoint scheduler application and connect to the iPoint server. Once logged on, click the Playlists tab on the left.
In this page, the user has an audio playlists and video playlists. For an image playlist, we select the Video playlists node and right click it. Choose New playlist from the popup menu.
Enter a name like Images Playlist and click OK.
A new empty playlist is opened in the middle pane. We can now add images to the playlist.
Click the Add button and navigate to the folder with images to use. The user can choose to select one image file and add it to the list, or the user can select multiple files by using CTRL and then click on the files that the user wants to use in the playlist. Finally, when all images are added to the playlist, click somewhere on the playlist, but not in the frame with the images, to deselect the properties of the chosen file. Now, get the properties of the playlist itself.
Note the setting Advance time of the Images group. Default it is set to value 10. This means that each image of this playlist, will be displayed for 10 seconds before going to the next image of the playlist.
An interesting option is the Randomize option of the Play group. Set this to True to play the images, each run, in a different sequence. By default, this option is set to False to force a fixed playback sequence of the files. When this become boring, switch on the randomize option for more variation.
A quick hint for the users; use random playback when it is possible because a fixed playback sequence might become quickly irritating for the personnel in the shop. Click the Save button to add the files to the playlist on the server. After this action, the definition of the playlist and its files, becomes visible for users of the scheduler application.
Assign Image Playlist to Remote Player
Our playlist with its images is defined on the iPoint server. Now we can assign this playlist to a player or to a group of players. These players can be normal players on the company network, but could also reside at remote locations with a simple internet connection. Any network configuration will work as long as they can reach and talk to the server.
Click the Start tab at the middle pane. This opens a list of players on the system.

The name in red alerts the user immediately that the remote player software is not connected, and is probably turned off or has connectivity problems.
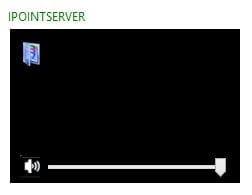
The thumbnail, is a copy of what is currently displayed at the player. Here, the thumbnail is completely black, because no playlist has been scheduled yet for this player. At the bottom of the thumbnail, the user can choose to mute the sound of the remote player. Or use the slider control to change the volume level. With this, the user can drop the sound volume to 50% of a computer that is located 200 kilometers from the location.
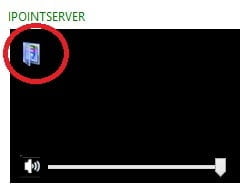
At the left upper corner, there is the assignments button. Click this button of the player, to open its playlist assignments.
Click the New document icon on the left, and choose Video playlist from the options.
On the next form, the user can select a playlist and specify that the wants to show it on the player.
The first combo box will tell the user on what player will be assign. This value cannot be change now, since the user started from a given player, before opening the assignments.
Secondly, the user can select the playlist that the user wants to assign to the player. This combo box contains a list of all video playlists that are available on the iPoint server.
And the user can set a priority on this assignment. A higher priority assignment will win from another lower priority assignment. In case cases, it is good to have a playlist on the lowest priority, scheduled for years. This playlist then serves as a fall-back playlist when nothing was planned.
Set the start and end date of the assignment.
And choose to display it all day, or enter a start and end time.
And finally the user can choose the days of the week. The user could for example exclude Mondays from the schedule because of the closing day of the shop.
Finally, click OK to close the playlist assignment form. The user will see the assignment added to your calendar control like this so.
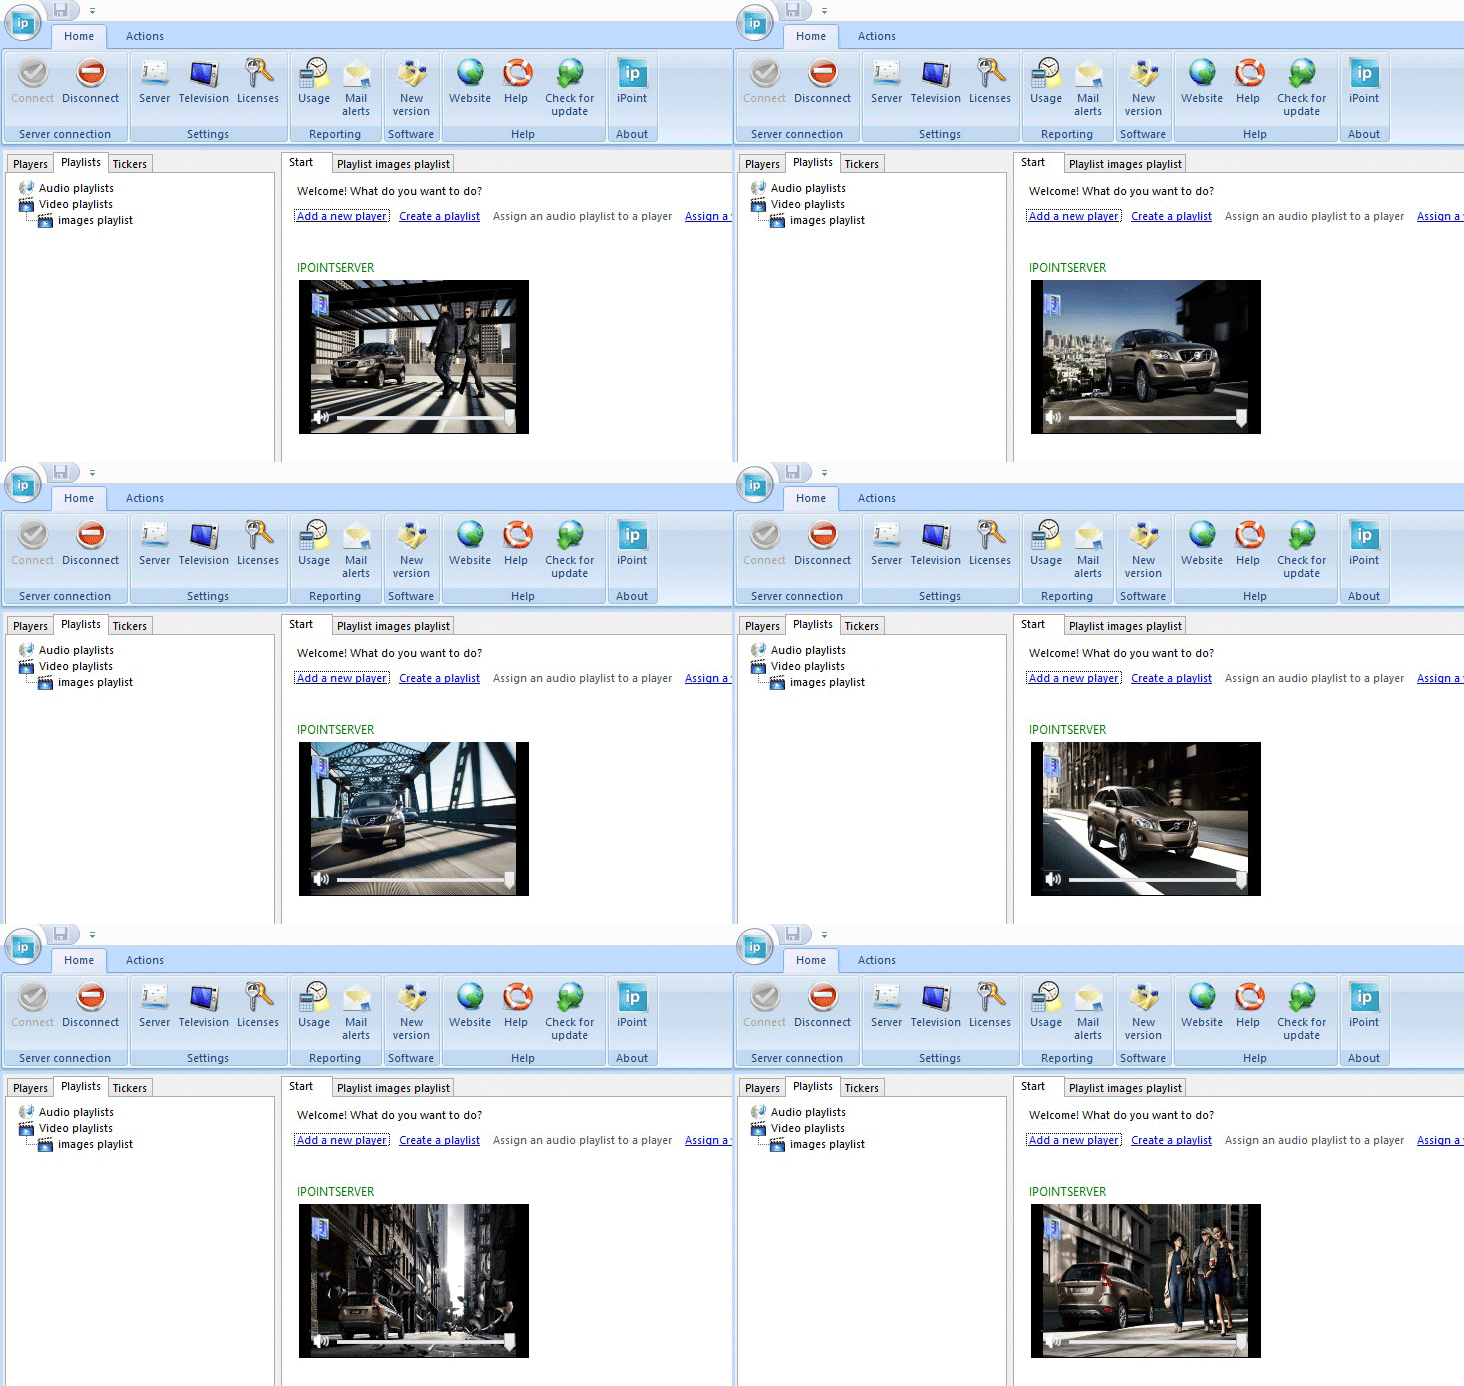
The user will get a clear overview of the playlist assignments. The user can switch from hour view, to day view, or even week or month view. The green bar represents the playlist assignment. Green here, corresponds to the color of the priority used. Click the OK button to save the assignment changes to the iPoint server. The remote player will now be notified of this new playlist assignment. The player will start downloading the files of the player thru the server, and when the first file is ready, it will start displaying this first image already. At the scheduler application the user will now see a live thumbnail of the remote player, so that the user immediately see what is happening on that screen.
Advantages of using images in your playlist
There are a few reasons why you could choose to use images in your digital signage playlists:
- Great tools to design: you can use various computer programs to create images. Think about Adobe Photoshop or Illustrator, or the easier Microsoft Paint, or even use Microsoft PowerPoint to set up your artwork and export the slide(s) to image(s). To export your PowerPoint presentation to images; open your presentation and choose File, Save as, and choose an image format at the Save as type options. Typically you save as jpg or png.
- Cheap creation: designing images is much more cost-effective than creating presentations and certainly, compared to creating video files.
- Light-weight: image files are small and quickly to transport to your remote digital signage players.
Supported image file extensions
iPoint has direct support for the following file extensions or image formats:
- bmp: bitmap image file (uncompressed)
- jpg or jpeg: jpeg stands for Joint Photographic Experts Group who created the standard
- gif: Graphic Interchange Format
- png: Portable Network Graphics is a raster graphics file format that supports lossless data compression
Next to images, iPoint also support Microsoft PowerPoint slide shows and videos. And of course you can mix all types in a playlist. Related articles on PowerPoint playlists and video playlists are available.
More Information
Read some more interesting articles from our blog:


